Made-a-move #15
Hooray! I figured out how to make drop down menus thanks to the WordPress Support Forum, Jentelo for asking my exact question, and wperic and leftbank for answering it ![]()
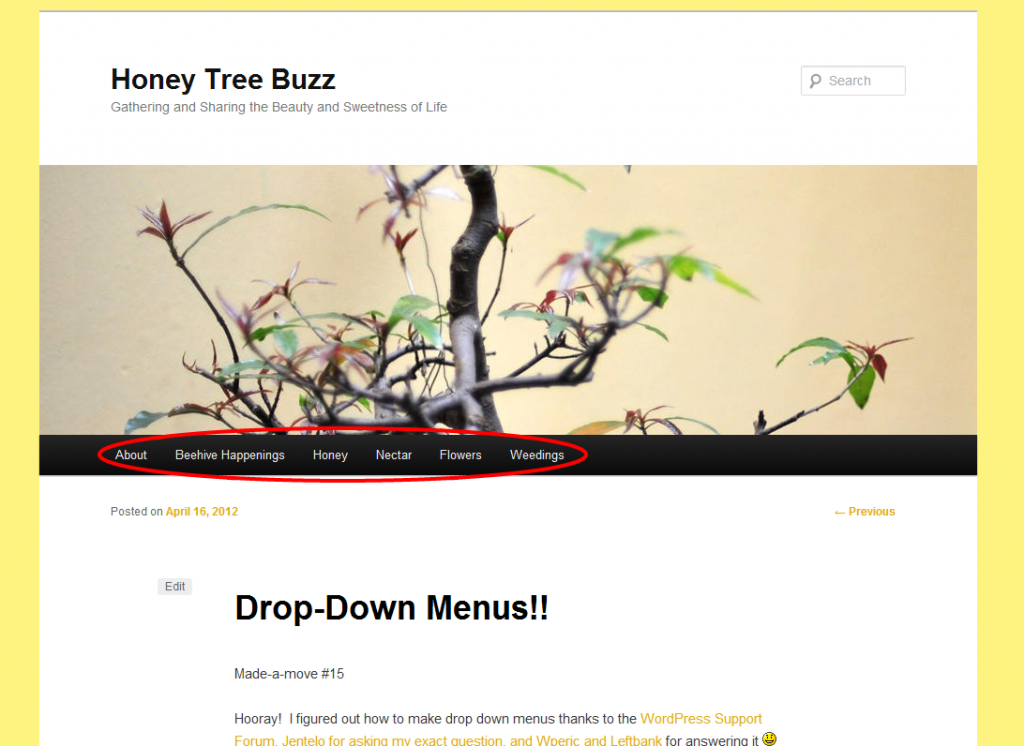
My crazy menu titles now have meaning when “moused-over” ![]()
 If you are just starting out, here’s how – or at least how I did it:
First off, I am using the WordPress theme Twenty Eleven. I don’t know what the different layouts may be if you are using a different WordPress theme.
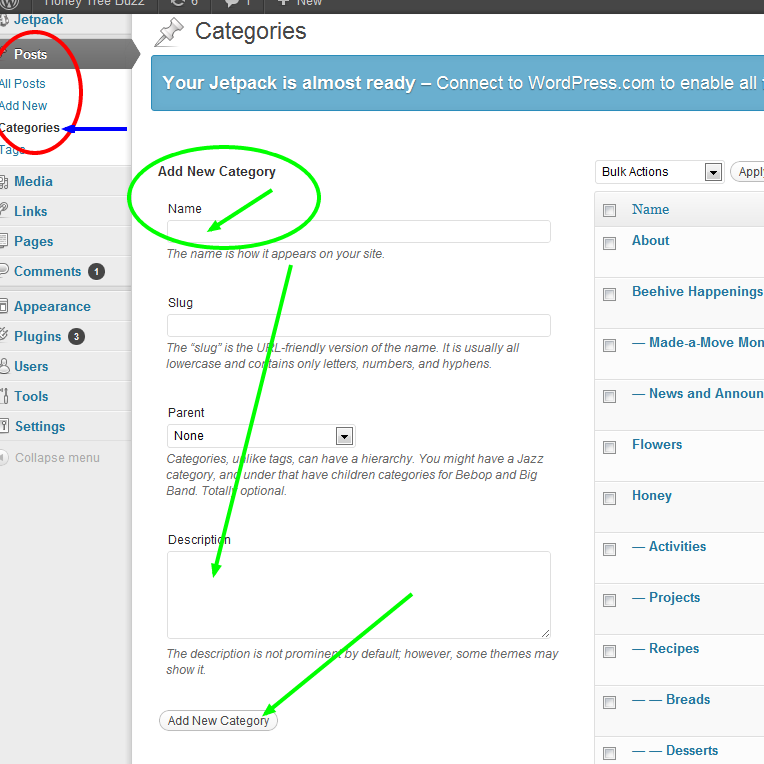
When I decided to set up my blog, I had ideas of what content I wanted to include and an outline of how I would organize the content. So, I first set up the different categories that my postings would fit into. As I make a posting, I label it with the category I already have set up. Accessing “Categories” is found in the “Posts” option in the WordPress left sidebar of the admin control pages. Once on the Categories page, setting up your categories is as easy as inputting the Name, a description (optional), and press “Add new Category” – see green arrows below:
If you input your main categories first, you can later assign the other categories you set up as being subcategories to a “Parent” while you are inputting them by clicking the “Parent” drop-down before clicking “Add New Category”. You can always assign or change the categories later by going to the Categories page in the Posts sidebar option and Edit the one(s) you want to.
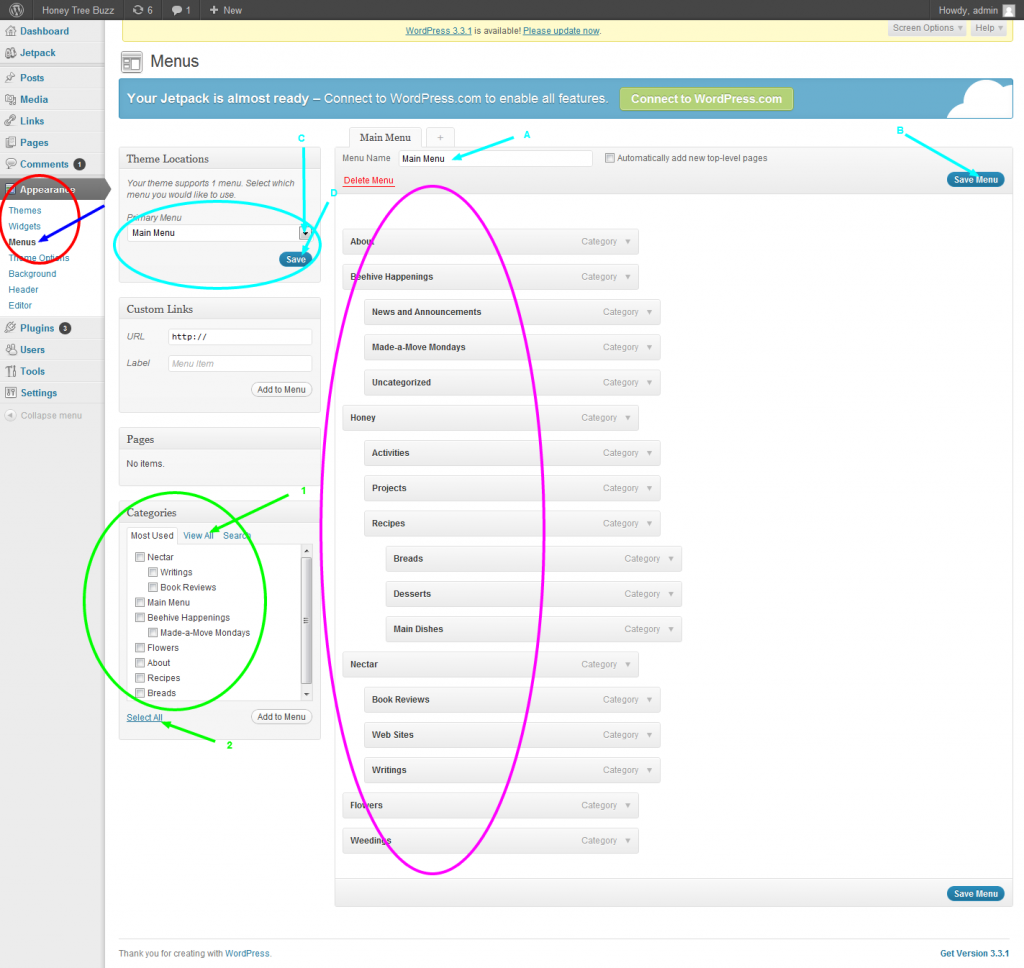
Having categories for your posts is not the same as having menu titles across the top of your page yet. To set up your menu bar, look at the sidebar and find “Appearance”. In the Appearance options, go to Menus (red circle below.)
At the blue arrows below, input A the menu title (you can create different menus, but WP Twenty Eleven theme only has one location for a customized menu so you will only use 1 menu at a time); B save the menu title, C choose the menu you want to use, and D click Save. You now have a menu – next to add the Menu titles.
Towards the bottom of the Menu page are the categories that are set up. The default is to show the Most Used, but clicking the View All (green arrow 1) is more useful. You can pick-and-choose the categories you want in your menu or you can choose to Select All (green arrow 2). Next, click Add to Menu – this will make them show up in the menu list shown below in the purple circle. At this point they will be all aligned along the left edge of the menu list. Be sure to Save Menu by clicking the button in the bottom right!
Rather than having so many menu items across your menu bar, you can make some of them be sub-topics that will show up as drop-down when mousing-over the “parent” categories that will be in the menu bar. To do this, drag and drop the sub-menu item below, and slightly to the right, under the menu topic you want it to be in. The final look is what you see in the purple circle above. Be sure to click Save Menu (bottom right) when you are done!
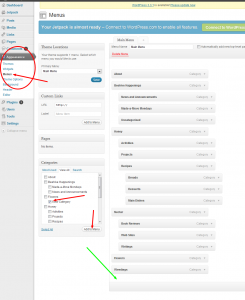
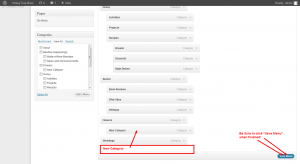
At any time in the development of your blog you can add additional categories using the same process above. Under Posts, go to Categories and add the New Category. Then, under Appearance, go to Menus and, in the View All listing, click the category you want to add to your menu (see left image below). When you click Add to Menu, it will add it (where the green arrow points) at the end of the menu list. Simply drag-an-drop it to where you want it to go (right image below). Again, be sure to Save Menu when finished.
But, there’s more…
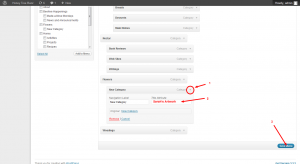
You also have the option to add descriptions of your menu item that will be visible when the mouse lingers over that item. To do this, click the little arrow next to the menu category (point 1 in red circle) and then type the descriptive Title Attribute in box at the arrow 2. Be sure to Save Menu when finished (arrow 3)
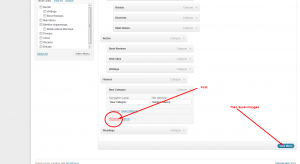
If you later decide to get rid of a category in your menu, you can do that through that menu item’s Category drop down arrow (see below).
If rather than just deleting the menu item, you choose to delete a category all together on the Categories page, any postings you had in that category that do not have any other labels would be transferred to “Uncatagorized”.
Thank you for coming to my HoneyTree Buzz Blog – much success to you in the growth of yours!
- DebBee

