Made-a-Move Monday #8
My DH just surprised me last week with a 7″ Lenovo Tablet and it is GREAT! He was determined that I needed an upgrade in the “technology department” to be more efficient, as I continue to lug around my 17″ lap top and regular cell phone which I’ve had for nearly 5 years. This thing is awesome! 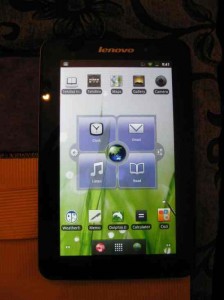 So, rather than put “make a case” on my to-do list, first thing the next morning (after getting all the kids out the door for school), I pulled out my serger sewing machine, picked out some scrap fabrics and Made a Move… I mean made a Tablet Case. I was in a time crunch to get to work, so not perfect, but DONE. (Touch-ups can come later…maybe)
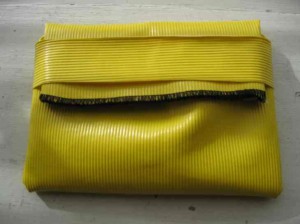 Very simple – you can do it with a regular sewing machine. Want to try? You can adjust the size of the fabrics depending on the size you want and how much additional space you want inside for padding, etc. If you are using a regular sewing machine, you may want to adjust directions to hide seems inside.
Here’s how I did it:
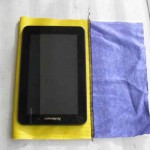
The first fabric I picked was 9″ x 16″ of flannel. Great size and color, but slippery and not much protection. Then I found this great vinyl fabric remnant that is soft on the inside, water repellent on the outside and bright yellow (ie. bright, cheerful & easy to find… now where did I put that grocery list?).

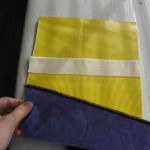
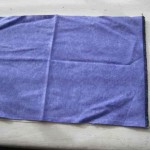 Cut vinyl to same size as flannel and cut a strip of vinyl approximately 1 1/2″ wide x the width of the short side of the fabrics. Next, serge large fabrics together at one short end, wrong sides together.
Use the tablet to determine right size of the case. Fold fabrics with flannel side facing out/ vinyl side together. Place the 1 1/2″ strip (wrong side facing shorter side of case) across the vinyl side of the attached fabrics approximately 1″ from lower edge. (Can use a little tape to hold in place away from where stitches will go, but I was in a hurry so I just held it).
Starting at the lower corner where fold of fabrics meet the side, serge up to top, curve around corner, across top, curve out other top corner, and then down to bottom corner on other side of case. Knot string ends and trim. (Can add a dab of Fray Stop liquid to keep threads from coming loose.)
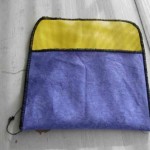
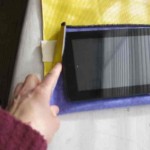
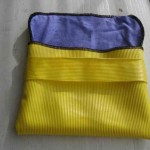 Turn case right-side-out, being sure to keep added strip on the shorter side of case. My case was a little roomy, so I was able to slide in some thin padding to add additional protection for my tablet. You can make yours as tight a fit as you would like.
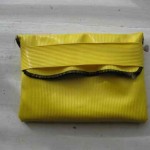
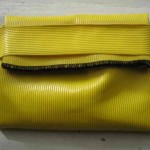 When closed, the top buckled a little. I plan to serge off a bit of the extra on the sides of the upper flap, but in the mean time it works fine to just fold them under as I slide the flap under the strap.
So, where are those grocery and ‘to-do’ lists? On my family’s online Cozi calendar and in the Memo app I added to my new Tablet ![]()
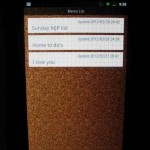 Huge Thank Yous to my DH – that is “Dear Husband” not “designated hitter” in case you are reading this
 ![]() …
…
…for the tablet & setting it up for me, for all you do for our family & others, for your encouragement & support, and for the memo you added to my memo list ![]()

Yes, I’ve read this. Use the new toy for only success!
Thank you. No games on Mommy’s toy – much to the disappointment of the kids … at least not for a while.
No games on Mommy’s toy – much to the disappointment of the kids